If you’ve ever uploaded artwork and seen a “low resolution” warning, you’re not alone. Here’s a simple, friendly guide to DPI, image resolution, and exporting print-ready files — built for small businesses and beginner designers.
What is DPI?
DPI stands for dots per inch. It describes how many tiny dots of ink a printer places into one inch of your design. In everyday print talk, you’ll also hear PPI (pixels per inch), which describes image detail on-screen.
The key takeaway is simple: for most print jobs, you want enough detail so your design stays sharp when it becomes a physical product — not a screen image.
Why resolution matters in print
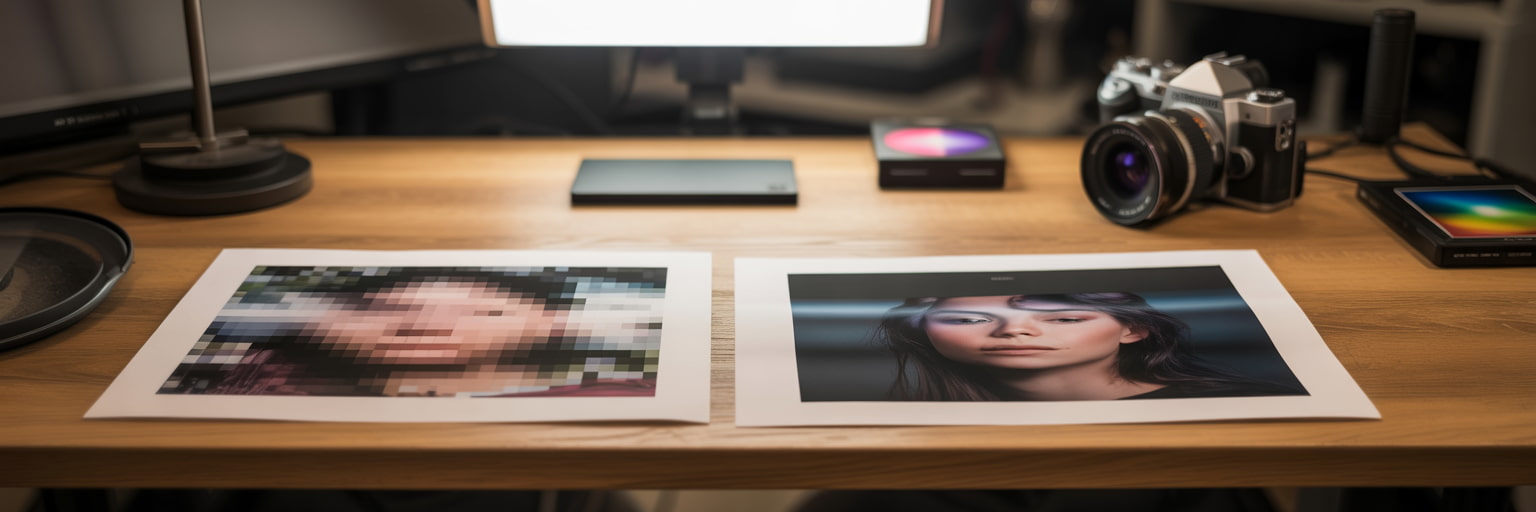
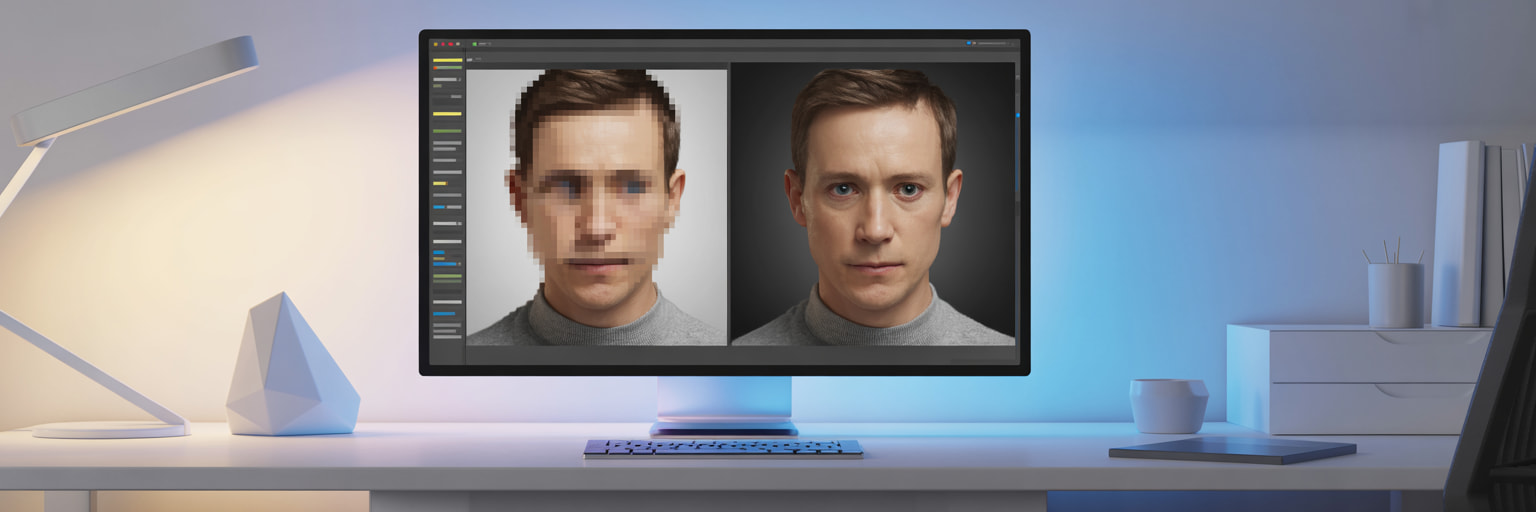
Low-resolution artwork can look fine on your phone… and then suddenly look soft, fuzzy or pixelated in print. That’s because print is unforgiving: it needs enough image data at the size you’re printing.
- Small format (like business cards) is viewed up close — so detail really matters.
- Large format (like banners and building wraps) is usually viewed from further away — so you can often use a lower DPI.
The golden rule: 300 DPI at final size
If you remember one rule, make it this: aim for 300 DPI at the final print size for most standard print products.
Example: if you’re printing an A2 poster, your file should be set up at A2 size and exported at a high print resolution — not a small web image stretched up to fit.
Recommended DPI by product
Here are friendly, real-world guidelines to help you choose the right resolution:
Business cards (small format)
- Recommended: 300 DPI minimum
- Why: tiny type and logos need crisp edges up close
Posters (A3 / A2 / A1 / A0)
- Recommended: 300 DPI ideal (especially for photos and fine text)
- Tip: if it’s mostly bold graphics and will be seen from further away, slightly lower can still look great
- Recommended: 150–300 DPI
- Why: banners are commonly viewed from a distance, so ultra-high DPI isn’t always necessary
- Recommended: 100–150 DPI (at final size)
- Why: these are designed to be viewed from further away — and huge files at 300 DPI can become unmanageable
If you’re unsure which range you fall into, starting higher is usually safer — and our Studio team can help if you need a second opinion.

DPI isn’t the whole story: size, bleed & colour
DPI matters — but so do the basics of file setup. For reliable print results, you also want:
- Correct document size (set your canvas to the final print dimensions)
- Bleed (commonly 3mm, but can vary by product)
- Safety area (keep key text/logos safely inside the trim line)
- Colour mode (CMYK for print where possible)
The easiest way to get this right is to use product templates. Head to instantprint.co.uk to find templates and setup guidance, including bleed and safety areas (plus general artwork help).
Helpful instantprint reads: Artwork & design help · Bleed guide · Large format resolution guide
Best export settings (Adobe & Canva)
Getting your export settings right is often the difference between “looks fine on screen” and “looks professional in print”. Here are the most reliable options for beginners.
Adobe (Illustrator / InDesign / Photoshop)
- Export as PDF (print-ready).
- Use a preset like High Quality Print (or a suitable PDF/X standard if required).
- Make sure bleed is included (use your document bleed settings).
- Keep raster images at 300 PPI for close-viewed print.
- Where possible, work in CMYK.
Tip: If your artwork is mostly vector (logos, shapes, text), PDF export preserves crisp edges beautifully.
Canva
- Click Share → Download.
- Select file type: PDF Print.
- Tick Crop marks and bleed (when you need it).
- If available on your plan, select CMYK / print colour profile options.
- Consider ticking Flatten PDF to reduce unexpected layer shifts.
Canva tip: avoid exporting as JPG/PNG for professional print if you can — PDF Print is usually the safest bet.
Common DPI mistakes to avoid
- Using web images (they’re often too small for print).
- Screenshotting logos (screenshots nearly always print poorly).
- Scaling tiny images up to fit posters/banners.
- Exporting in RGB when you intended print CMYK output.
- Ignoring templates (bleed + safety areas exist to save you from trimming surprises).
FAQ: Real questions people ask about DPI
- What DPI is best for printing?
For most print products viewed up close, 300 DPI (or 300 PPI) at final size is the standard. For large format, you can often use 100–150 DPI depending on viewing distance.
- Is 72 DPI OK for printing?
Usually, no. 72 DPI is commonly associated with screen/web graphics and often prints soft or pixelated — especially for small format.
- Can I change a file from 72 DPI to 300 DPI and make it print sharper?
Changing the DPI number alone doesn’t add real detail. If the original image is low quality, it may still look blurry in print. The fix is usually a higher-resolution source image, or resizing the design smaller.
- What resolution do I need for a banner or building wrap?
Many banners look great at 150 DPI (or more). Building wraps can often be 100–150 DPI because they’re viewed from further away. If in doubt, start higher or ask for a quick check.
- What’s the best Canva setting for printing?
Use PDF Print, enable crop marks and bleed if needed, choose CMYK options if available, and consider Flatten PDF for safer output.
- Should I design in RGB or CMYK?
For print, CMYK is typically preferred because it aligns with how inks are produced on press. (RGB is best for screens.)
Quick checklist
✅ Set the document to the final print size (don’t “design small and scale up”).
✅ Aim for 300 DPI for close-viewed print (business cards/posters).
✅ Use 150 DPI+ for many large format prints (depending on viewing distance).
✅ Use templates from instantprint.co.uk for bleed & safety areas.
✅ Export as PDF Print (especially from Canva) and include bleed where required.
✅ Check your proof at 300% zoom before approving.
Need a hand? Our Studio team deal with this stuff every day — and it’s always easier to fix artwork before it hits the press.
.jpg)


