Fonts can completely change the look and feel of your design. Whether you’re creating business cards, flyers or social media graphics, the right typeface helps your brand feel professional and consistent.
If you’ve downloaded a font but aren’t sure how to use it in Adobe Photoshop, Illustrator or InDesign, the good news is that installation is straightforward. Once installed correctly, the font becomes available across Adobe applications.
This guide walks you through how to install fonts on Windows and Mac, how to activate fonts using Adobe Creative Cloud and what to check before using them in print.
Table of Contents
- Before You Install a Font
- How to Install Fonts on Windows
- How to Install Fonts on Mac
- How to Add Fonts Using Adobe Creative Cloud
- How to Find Your Installed Font in Photoshop or Illustrator
- Why Your Font is Not Showing in Photoshop or Illustrator
- Tips For Using Fonts in Print Design
- Managing Fonts More Efficiently
- Final Thoughts
Before You Install a Font
Before getting started, it’s worth checking two things: the file format and the licence.
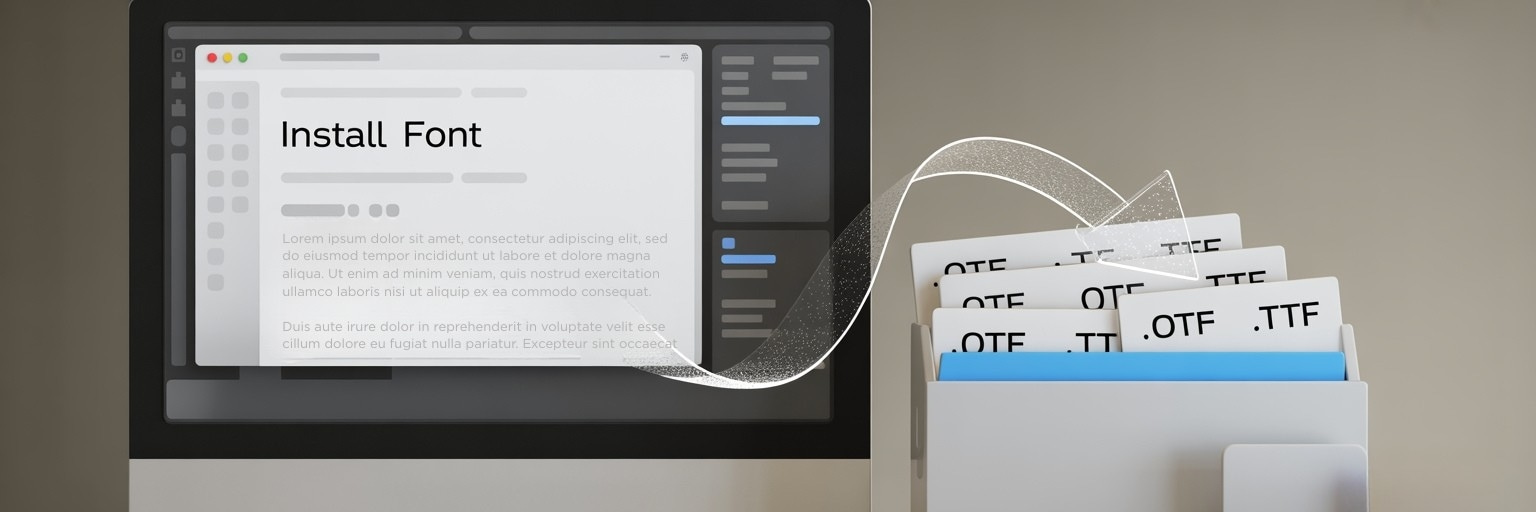
Most downloadable fonts come as .OTF (OpenType) or .TTF (TrueType). Both formats work with Photoshop, Illustrator and most other design software. If your download arrives as a ZIP file, extract it first so you can access the font file inside.
It’s also important to check licensing. Not all fonts are free for business use. If you’re creating artwork for your company or designing something you plan to print and distribute, make sure the licence allows commercial use.

How to Install Fonts on Windows
Installing fonts on Windows only takes a few steps.
Download your font file, then extract it if it is zipped. Right click the .OTF or .TTF file and select Install.
Once installed, the font will be available in Photoshop and Illustrator. If Adobe applications were already open, close and reopen them so the font list refreshes.
How to Install Fonts on Mac
On a Mac, fonts are installed through Font Book.
Download the font file, then double click the .OTF or .TTF file. A preview window will appear. Click Install Font and the typeface will be added to your system.
If Photoshop or Illustrator was open during installation, restart the program so the new font appears in the font dropdown.
How to Add Fonts Using Adobe Creative Cloud
If you use Adobe Creative Cloud, Adobe Fonts can be the easiest way to access new typefaces without downloading files manually.
Open the Creative Cloud desktop app, go to Fonts, browse or search for a typeface and select Activate. The font will sync automatically and become available in Photoshop, Illustrator and InDesign.
Adobe Fonts is useful because licensing is included and syncing works across devices. It can also help avoid missing font issues when you move between machines.

How to Find Your Installed Font in Photoshop or Illustrator
Once your font is installed, open Photoshop or Illustrator and select the Type Tool. In the top toolbar, open the font dropdown and search for the font by name.
If you cannot see it straight away, restart the program. In most cases, that is enough to refresh the font list.
Why Your Font Is Not Showing in Photoshop or Illustrator
If a font does not appear, there are a few common reasons.
First, check that Adobe has been restarted since installation. If it still does not show, the file may not have installed correctly or the download may be corrupted. Try downloading the font again and reinstalling it.
Another issue can be duplicates. If you have multiple versions of the same font installed, it can cause conflicts. Removing older versions and keeping one clean install can help.
Finally, check compatibility. Very old font formats may not work properly with modern Adobe software. If the font is only available in an unusual format, look for an alternative version in .OTF or .TTF.
Tips for Using Fonts in Print Design
Installing a font is only part of the process. If you’re designing for print, a few extra checks will help your artwork come out as expected.
Convert text to outlines: In Illustrator, converting text to outlines prevents missing font issues if the file is opened elsewhere. Do this once your copy is final, because outlined text is no longer editable as type.
Check readability at size: A font that looks clear on screen may not print as cleanly at small sizes. View your design at final size and check thin strokes, spacing and legibility before exporting.
Keep your typography simple: Two complementary fonts are usually enough for most designs. Too many typefaces can make layouts harder to read and less consistent.
Consider finishes: If your design will use finishes like foil or raised Spot UV, avoid very thin fonts and fine details. Clean shapes and slightly heavier type usually reproduce better and hold their edges.

Managing Fonts More Efficiently
If you regularly download fonts, your library can grow quickly. A font manager can help you organise typefaces, group them by project and disable fonts you do not need, which can improve performance.
If you only install fonts occasionally, your system tools are usually enough. The main thing is keeping your font folder tidy so you can find what you need later.
Final Thoughts
Adding fonts to Photoshop and Illustrator is straightforward once you know the steps. Whether you install fonts manually on your computer or activate them through Adobe Creative Cloud, the key is making sure the font is properly licensed and installed correctly.
A good typeface can elevate your design, but clarity and consistency should always come first. Taking a few moments to install, test and prepare your fonts properly will help your final artwork look professional, both on screen and in print.


.jpg)