.jpg)
When it comes to marketing your business, flyers are essential. Not only are they a quick way to spread news locally, but they’re also one of the most affordable forms of marketing. And if you’re looking to keep costs down, choosing to design and create your own flyer is the best way to go. If you’re not a designer by nature, that’s not a problem – here’s how to make a flyer in Microsoft Word.
1. Setting Up Your Document
The first step is preparing your canvas ready to begin your design. To do this:
- Open up Microsoft Word
- Click ‘Blank Document’
- Go to Layout > Page Set Up

- Under ‘Paper’, change the size – if your size is unavailable, click ‘Custom size’
>> You can find all of our flyer sizes right here! <<
You might notice that on our website we ask you to add bleed to your artwork, which is where you extend your design out by roughly 3mm to avoid an unwanted border after printing, but we’ll do this for you automatically when you upload the artwork you create to your basket!
2. Using a Word Flyer Template
Alternatively, you can use one of the free flyer or leaflet templates available on Microsoft Word. These are a great option if you want a foundation for your design instead of having to create something out of a blank document. To use these:
- Open up Microsoft Word
- Type ‘Flyers’ into the search bar at the top of the page
- Choose from the pre-made templates available and download the design you want
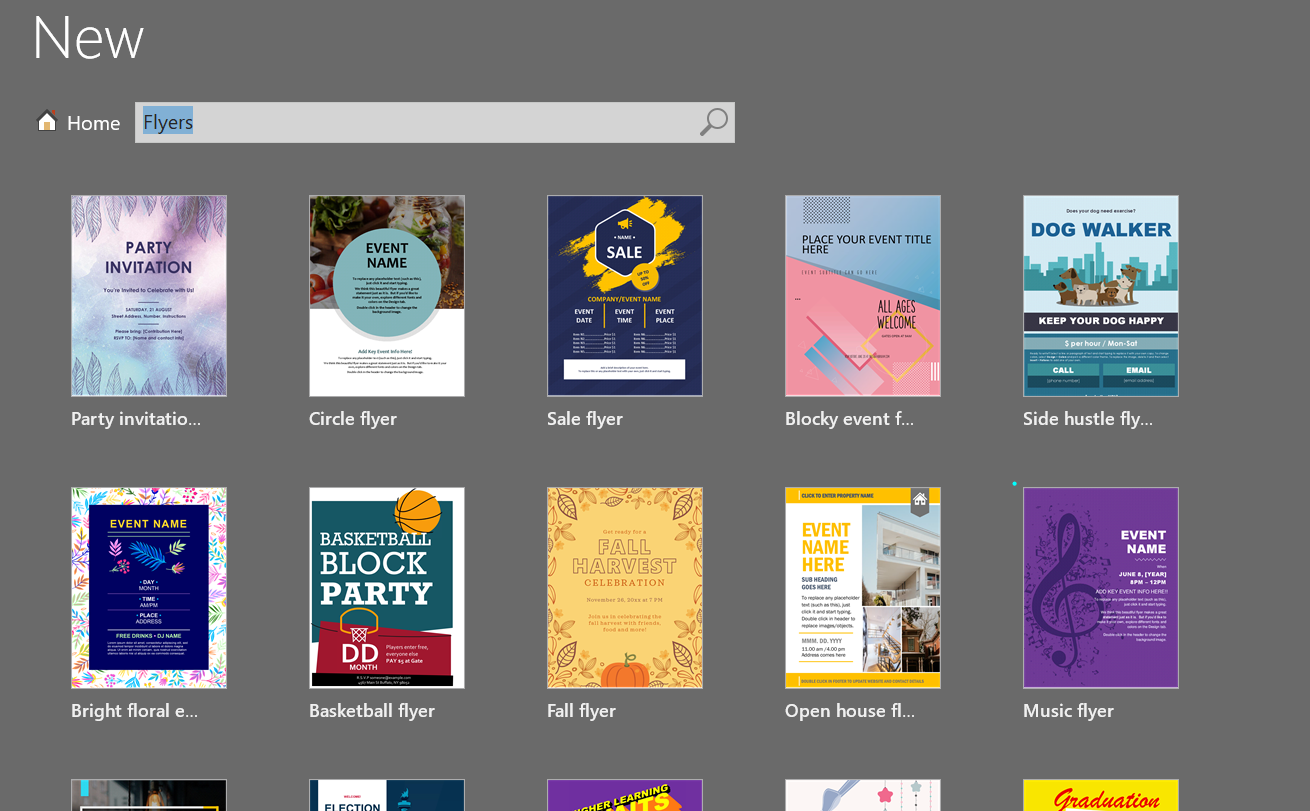
- You’ll then be able to fully customise the text and images on your chosen template
3. Adding Text and Images
Now it’s time for the fun bit – piecing together all of the content in your design!
The easiest way to add text to your flyer design is by using text boxes. To add them:
- Go to Insert > Text Box
- Select the style you want to use then draw the text box on your design
- Type in or copy and paste the text you want to use
- Change the font, size and colour under the Home tab
- Change the text box under the Format tab
For images:
- Go to Insert > Images
- Choose a high-resolution image from your Computer
- Double click the image to insert it into your design
- Drag and drop the image to place it
- Use the corner handles to change the image size
4. Save Your Design
Before you upload your flyer or leaflet design to be printed, the next step is to save it as a PDF.
- Click File > Save As
- Choose a folder on your computer to save your design
- Name your file and change ‘Save as type’ to PDF

Your design is now ready. Place your flyers in your basket, upload your artwork and submit your order. We’ll then check this for you to make sure it’s print-ready.
Another option is to design a flyer online using our free templates. Each one is made by our in-house graphic designers so you can create quality print marketing no matter your skills or experience.
Need More Advice?
If you need any more help with how to make a flyer in Word or would like to get more specific advice on choosing the best leaflet or flyer for you, feel free to get in touch with our team today.