(1).png)
When you’ve got an event coming up, organisation is key. With exhibition stands, pop up banners and extras such as business cards, stickers and flyers to design for, the last thing you want is to waste time by setting up your artwork incorrectly.
Preparing your exhibition stand for print may seem like a mammoth task, but we’re here to assure you that it’s both quicker and easier than you think. Simply follow our step-by-step guide and you’ll be event-ready in no time!
- Select Your Stand
Lightweight, impressive and easy to assemble, our exhibition display stands are a great choice for when you want to stand out at events. With 4 sizes to choose from, they feature a pop-up mechanism for a speedy set-up and an anti-scuff coating to ensure durability. Also included with every size are halogen lights and a handy roller case which doubles as a sturdy podium, complete with a stylish solid wood counter top.
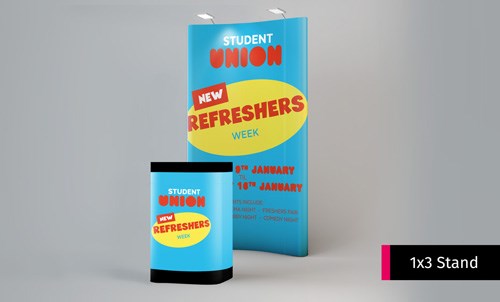
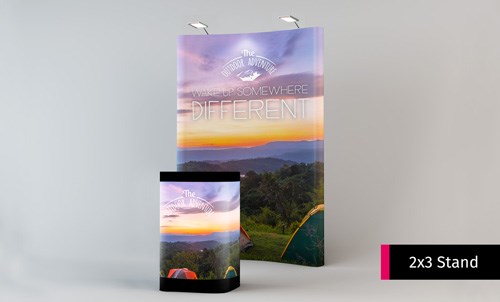

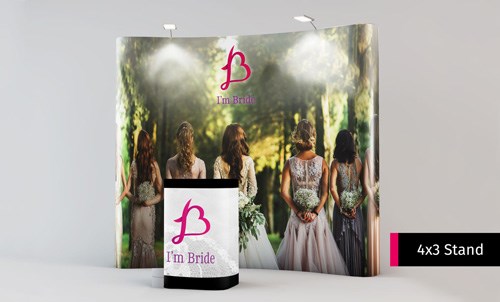
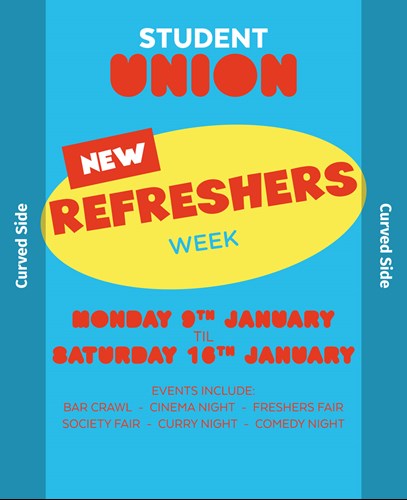
Each exhibition stand is made up of 3 sections – the centre panel (which will display the visible artwork) and two curved side panels. The size of the stand determines the number of panels in the centre; for example, a 1 x 3 stand will have one centre panel whereas a 2 x 3 stand will have 2 centre panels, and so on. It’s important to bear this in mind when choosing your stand.
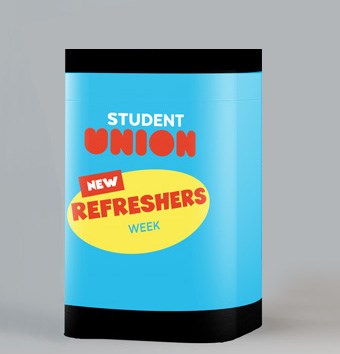
- Attach Your Podium Graphic
Podium graphics not only look good, but they’re easy to construct. Simply wrap your graphic around the base of your podium, attach it with the Velcro provided and voila! A podium built for pulling in a crowd!
- Supply Your Artwork
When supplying your artwork to us, you’ll need to take the number of panels on your stand into consideration. Your artwork will be split across the separate panels before it’s assembled to create the finished stand. To ensure that it’s printed correctly, make sure the artwork you supply is a full image that covers the exact size of your stand. Submitting your artwork at a smaller size or a low resolution will lead to a poor print quality with a pixelated finish. Nobody wants that!
For the perfect print, we recommend that you stick to these specifications:
Size: The size of your chosen stand (see above)
Print: Four colour process (CMYK)
Safety Area: 3mm
Bleed: 3mm
Resolution: 150dpi
- Prepare for Print
It’s important to remember that once printed, not all of the artwork will be visible on the stand. When you’re creating your artwork, factor in both the width of the visible area (the centre panel) and the panels that form the curved sides. Once you have that covered, you’re away!
As the size of the visible area differs for each display stand, you can download our free templates to use as a guide. For any other questions, get in touch, we’re always happy to help!