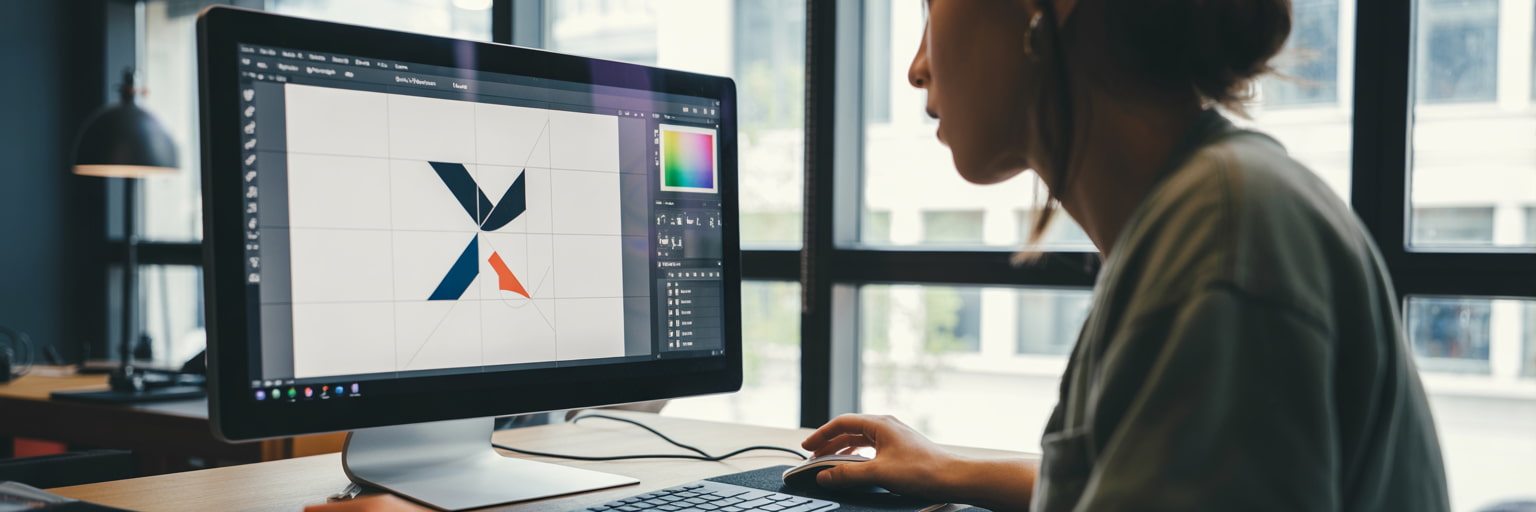
No matter whether you’re ordering for the first time or a regular designer, we believe that ordering print should be hassle free, and there are a few easy steps to follow to ensure your journey is seamless. In this blog, we’ll uncover our 6 top tips to help you submit your print so that it looks perfect and can be approved by our expert studio team super fast.
How Do I Make Sure My Design’s Ready for Print?
Our studio team is full of experienced specialists who are dedicated to ensuring you receive your material exactly as you imagined. Undertaking a meticulous 10 point quality check, our Studio team are dedicated to ensuring that your designs go to print perfectly. Once you’ve submitted your design to our website, they’ll either approve your artwork or send it back with any recommendations so that you’re happy with everything, so you can market your business with pride. These 6 steps also form part of their quality check and by following these tips, you can ensure that you receive print that you’re proud of -
1. How to Find the Right Document Size
No matter what you’re designing, from the humble business card to a stand out roller banner, ensuring that your artwork is set up at the right document size is critical to ensuring you receive your print the way you imagined. To help save more time, it could be worth considering double checking the dimensions before you start any work.
To help you get the right dimensions, all of our product pages include the details you need in the artwork help section. Our top tip would be to use the templates we provide on our products, which include the cutting and safety areas for extra clarity, helping you keep all of the design elements you expected.
2. Checking Your Artwork Resolution
Our state of the art printers create the colour which we see by processing thousands of tiny ink dots onto the paper. By ensuring that all your imagery is high resolution, you can be confident that when your design is printed, it stands out and shows no signs of discolouration.
We’d recommend that you set your documents to 300 dpi for best quality, as this is the optimal resolution for your print to look the way you would expect. If you want to learn more about dpi, Adobe has created a fantastic guide explaining it in more detail, which you can read here.
3. Considering Composition
Print marketing is a great way to capture the attention of customers, and by ensuring that you use powerful imagery, your customers will be interested and want to learn more. Just like in any photoshoot, you’re likely going to go through a large number of images before you find the right one, so we recommend you consider checking the images for any issues, such as a distracting element in the background, or a box near somebody's head.
You may find that you need to crop an image to remove any issues, fortunately, this can also lead to a more impactful image which entices your customer to find out more about what you’re promoting.
4. How to Add Bleed
If you want your print to be picture perfect, then bleed is your best friend! If you’ve never heard of bleed before, or wonder why it's so important, basically, it’s the area at the edge of your print which gets trimmed off during the cutting process. With this in mind, you’ll likely want to make your artwork slightly bigger so that it’s trimmed to the right size, to prevent the risk of either having any elements of your design cut off or finding a white line around the edges.
Our top tip would be to add a minimum 3mm bleed area to any document you send to print. Our templates are available on each of our product pages and are a great way to ensure that you’ve left enough safety room, as some products do require more.
5. Confirming Your Colours Are Set Up for Print
We know how amazing it feels when you receive your print and the colours stand out, attracting your eye to the work which you’ve put in. The best way to achieve this feeling with every design is to ensure that you set up your print to the CMYK colour spectrum, as this is what many printers work with. Doing this, you’ll be able to design your artwork exactly how it should look when you receive it, meaning that you’ll save time in the long run, rather than designing using RGB and having to edit it further after seeing the proof.
If you’d like to learn more about the different colour spectrums, and why we print using CMYK, check out our CMYK & RGB colour guide for artwork which uncovers everything you need to know, along with how to easily convert the colours on many popular design tools.
6. What File Type to Upload Your Design
The final stage you’ll go through when designing your print to order is uploading your artwork! Many printers, including ourselves, recommend that you send your design as a PDF and checking the “use document bleed” setting is on. This will help ensure that the quality of your artwork remains high when it’s sent to print and provide peace of mind that you’ll receive your material perfectly.
We know that as you get busy, you might work through several files, so to speed up the process for yourself, we recommend that you consider saving your document with a file name that you can easily recognise, and double check it before you press upload.
BONUS TIP - Our FREE Design Online Tool
As we’ve previously mentioned. we believe that buying print should be easy and this was a key driver to the creation of our free Design Online Tool. Not everyone feels comfortable using or has access to professional software, so our tool was created with usability in mind, so you can bring your print marketing to life with ease. No matter if you want to create a whole design from scratch, or make the most of one of our professionally made templates, we’ve got you covered with a range of tools, stock imagery and fonts available, so you can create your print, while ensuring your brand remains unique. Try it today at no additional cost!
In Conclusion
Creating picture perfect print which you’ll be proud of doesn’t have to be complicated, and by following these simple steps, you can confidently design your artwork and get it approved super fast, so you can enjoy your print exactly the way you imagined. From flyers to books, we like to make it as easy as possible to order print, so don’t forget you can make the most of our free templates and design online tool to help you ensure that your design is printed perfectly.


.jpg)

.jpg)
