Personalised sticker printing is one of the easiest and most affordable ways to showcase your brand, from product packaging and envelopes to event giveaways and bottle labels. If you’ve ever asked yourself 'how do I make a sticker?', this guide will walk you through everything from choosing your sticker type to setting up your artwork and sending it to print.
Whether you're ordering stickers on a sheet or a reel, your artwork setup stays the same, just add a 3mm bleed all the way around your design, and you're good to go.
What Type of Sticker Should You Print?
With so many sticker printing options available, it’s worth knowing which type best suits your project. Here’s a breakdown of the different types and stocks of stickers we offer and what they’re perfect for.
Sticker Types
Stickers on a Sheet
Stickers on a sheet are our most popular choice for custom sticker printing. They’re perfect for small businesses, packaging, events, and giveaways where you want easy, hand applied stickers.
Each sheet is filled with multiple stickers of your chosen shape and size - simply peel and stick.
Best for:
-
Product and packaging labels
-
Address and logo stickers
-
Event and promotional use
Stickers on a Roll
If you’re ordering in bulk or using stickers in an automated application machine, stickers on a roll are ideal. They’re printed using high quality vinyl sticker printing for maximum durability and precision, making them perfect for high volume labelling or commercial use.
Best for:
-
Bottles, jars, and packaging
-
Large quantities
-
Label dispensers and machinery
Sticker Material Types (Stocks)
Once you’ve decided whether you need your stickers on sheets or rolls, it’s time to choose the stock material that suits your project best. instantprint offers a selection of high quality materials to match every use case and finish.
78gsm Semi-Gloss Paper
This semi gloss paper stock gives your stickers a subtle shine without being overly reflective. It’s our most popular choice for sticker printing cheap, offering great colour vibrancy and value for money.
-
Ideal for logo stickers, packaging labels and address labels.
-
Easy to write on with a permanent marker.
-
Best for indoor use.
-
Available on both sheets and rolls.
122gsm Uncoated Smooth Paper
For a more natural look, our uncoated smooth paper stickers are perfect. With their writable finish, they’re great for custom sticker printing where you need to add dates, names, or notes.
-
Soft, premium texture for an elegant matte look.
-
Excellent for handmade or eco-friendly brands.
-
Writable surface for personalisation.
-
Available on sheets and rolls.
98gsm White Gloss Polypropylene
If you’re after durable, waterproof labels, choose 98gsm white gloss polypropylene. Made from a tear resistant vinyl-style material, these stickers are built to last and are perfect for vinyl sticker printing projects.
-
Water and oil resistant - ideal for bottles, cosmetics, or outdoor products.
-
Glossy finish makes colours pop.
-
Weatherproof and long lasting.
-
Available on sheets and rolls.
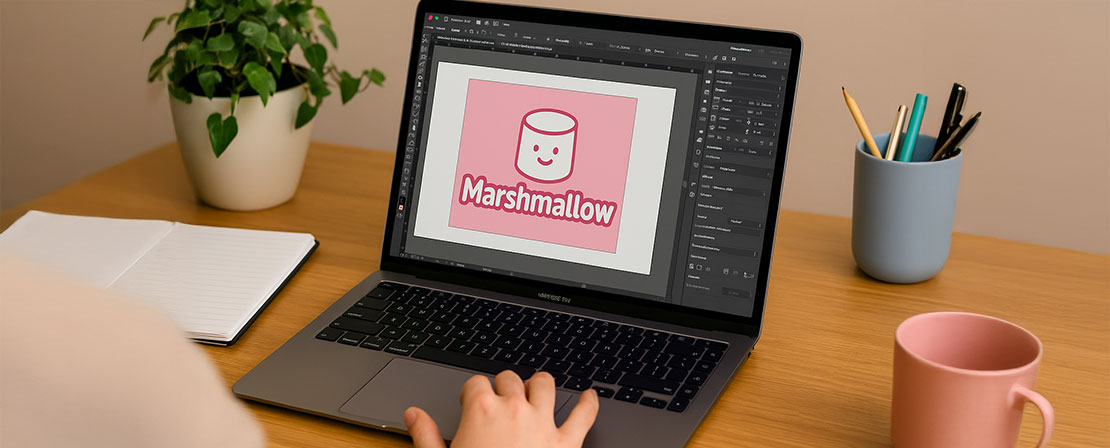
How to Design a Sticker for Print
When it comes to custom sticker printing, setting up your file correctly is key. The setup process is the same whether your stickers are square, rectangle, or circle.
How to Design a Square or Rectangle Sticker
-
Set your sticker size e.g., 45mm × 45mm.
-
Add a 3mm bleed to each side (so your document becomes 51mm × 51mm).
-
Change your colour mode to CMYK for accurate print colours.
-
Save at 300 dpi resolution for floor and wall stickers, or 600 dpi for smaller classic stickers.
-
Save your final file as a PDF or JPEG to flatten fonts and images.
How to Design a Circle Sticker
Circle stickers are simple too! Instead of creating a circle shaped canvas, set up your document as a square (e.g., 30mm × 30mm) for a 30mm circle sticker. This way, the corners act as your safety zone - and you don’t need to worry about extra setup.
Then, just follow the same steps as above for bleed, colour mode, and resolution.
How to Check Your Artwork Proof
Once you upload your artwork, you’ll see a digital proof before we print. This helps ensure your sticker looks exactly as expected.
-
The blue line shows the trim - where your sticker will be cut.
-
The red line shows the safety area - Keep and important text and logos safely inside this area.
Our team checks for setup and resolution issues, but please double check your spelling and brand details before you approve your proof. Once approved, we’ll get straight to print!
5 Sticker Design Tips
We’ve seen a lot of incredible sticker designs during our 10+ years as an online printer, meaning we’ve picked up a fair few tips along the way. Here’s what we recommend:
1. Use your logo
When in doubt, use your brand logo. It’s simple, effective, and perfect for packaging, envelopes, and gift wrap.
2. Avoid using borders
The high-tech machines we print your classic stickers on are as accurate as they come, but all it takes is 0.5mm here or there to offset your sticker’s border design because they’re so small.
3. Make sure text is big enough
Remember to zoom out of your design every now and again to check that text is legible, especially on our small stickers.
4. Go bright!
We offer full-colour sticker printing as standard - so have fun with your brand colours and create something vibrant and memorable.
5. Think context
What are you going to be sticking your stickers to? Keep this in mind as you create your design – you’ll ideally want your stickers to contrast with whatever background they’re going on so they’ll stand out more.
And there you have it – everything you need to know to create your own sticker design for print! Before you make a start on printing stickers, why not check out our free design templates for extra inspiration? Or get in touch with our team if you have any further questions.
Ready to Create Your Own Stickers?
Now you know exactly how to make a sticker, its time to bring your ideas to life!
Whether you’re ordering stickers on sheets for product packaging or stickers on rolls for high volume labelling, instantprint makes custom sticker printing simple, fast and affordable.
We combine cheap sticker printing with premium quality and quick turnaround times, so you can get your personalised stickers exactly how you imagined them.


