(1).png)
Weddings are expensive, aren’t they? In fact, in 2017 the average cost of a wedding came to a whopping £27,161, which is up 9.6% on last year and looks set to continue to rise. Any way that you can save money on your wedding is a good thing! Many couples are creating DIY save the date cards to save the pennies – so we’re going to show you how to make stunning cards on a small budget.
1. Your Timeline: When To Send Save The Dates
When should you send your save the date cards? It’s a bit like asking the classic ‘how long is a piece of string?’ question, as it depends on a variety of factors. For example, if you’re getting married abroad, or have a lot of wedding guests that will need to fly in from overseas, try to send your save the date cards as soon as you’ve arranged the date.
The general rule is this: you can send the save the date cards once your venue has been booked. If you do it the other way around, you risk either needing to change the date to get the dream venue (and sending out new cards!) or losing out on your venue of choice if it’s not available on the date you need.
2. How Many Save The Date Cards Do You Really Need?
Save the date cards serve a couple of purposes: they help your potential guests know when to book their annual leave well in advance, and they also let you know early on who can’t make the wedding.
When you send out your cards, you’re likely to find at least a few have already booked their summer holidays or a trip to visit family. This isn’t a bad thing! It’ll help you decide on two things: first, are there any ‘spare’ people that you wanted to invite but couldn’t fit on the list? You can send them a save the date now!
Alternatively, if you have sent your cards out to absolutely everyone, you now have a better idea of the number of attendees, which’ll really help you lock down your budget. You could choose to either spend less than you planned overall (leaving more for the honeymoon!), or increase your per-head budget to make sure everyone has a ball.
When choosing the number of save the date cards you’re going to need, the first thing you need to do is create a list of everybody who might be invited to the wedding. Now, cross off anybody who you aren’t really bothered about, or who it’d be too political to invite (such as that friend of a friend who used to date that other friend who still isn’t over them).
This is your first-draft guest list – and these are the people you’ll send your cards to. It’s a good idea to create a spreadsheet at this stage, with a list of names and addresses, and any responses you receive.
3. Consider: Are You Matching Save the Dates to Wedding Invitations?
Your wedding theme is important, as it influences the style of the day – from the buttonholes, right through to the table centrepieces!
Some people instantly know their theme, while others take a long time to decide. It’s perfectly acceptable to send save the dates with a different design to your wedding invitation – especially when they’re going out months (or sometimes more than a year) in advance. In the kindest possible way, your guests aren’t going to mind if your cards don’t match your invites.
On the other hand, if you’re already set on your theme, it can be a great way to kick off the wedding planning with save the date cards that will match your invitations and other wedding stationery.
4. Choosing Your Save The Date Design
Other than a few details that have to go on your save the date (see below), the design is totally up to you. You could even make a save the date magnet for people to keep on their fridge to remind them of your big day! Many couples choose to include photos of themselves, often from an engagement photo shoot. If this isn’t your style, not to worry! You can go for classic, simple save the date cards printed on brown card with a rustic font, or sleek black calligraphy on a white background.
If you’re tempted by the idea of creating your own design but don’t know where to start, we’ve got loads of customisable templates. They’ve all been specially created by our in-house designer so you know they’ll look professional – and they’re available on a range of stunning paper options for a luxury feel.
Finally, remember that your save the date cards don’t have to be greetings-card style! A postcard could do the trick just as well, and is also incredibly budget-friendly.
5. What to Include on Save the Date Cards
There are a few, but vital, details you need to remember to include on your save the date:
• The date! (Naturally)
• Your names
• The country you’re getting married in (if you’re sending to international guests)
…and that’s it.
You’d be amazed at how many people forget one of these few items.
You might want to include a special hashtag, if you want to get people contributing to your wedding on social media already, but you could save that for later.
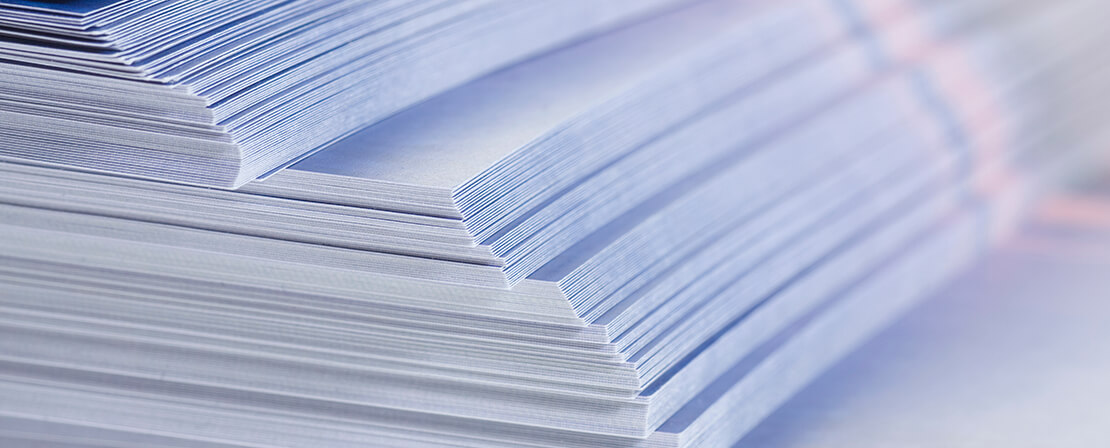
6. Paper Choices
When ordering your wedding save the date cards, it can be overwhelming when it comes to choosing the paper that they’re going to be printed on!
There are so many options, you might not know where to start. A good idea is to order a sample pack, so you can try out and feel the different weights of paper and finishes, before you order anything.
Next, you need to remember that these are save the date cards – so they need to last! People often pop these on a noticeboard or on their fridge, so that they don’t forget when your important day will be. Choosing a heavier paper stock is a good way of making sure your save the date card is something people will want to keep on display, and makes it more durable too.
7. Lamination and Finishing Options
If paper weight wasn’t enough of a choice to make, you’ll need to work out if you want any lamination, what type, and if there are any special finishes you fancy, too!
A lamination is something that is heat-sealed to the paper when your design has been printed – but that doesn’t necessarily mean it’s shiny. You could go for a matt lamination, which has a soft and smooth feel to it, or a velvet one, which is a bit like a fuzzy peach to the touch. If you want shiny, you can always opt for a gloss lamination!
Cards can be designed with a lamination on just one side, too. That means you could have a shiny front and back, but uncoated on the inside if you want to hand-write your message. (If you go for save the dates on postcards, they will always come with a slightly shiny front and an unlaminated reverse for you to write on).
Finally, there are special finishes to add. These could include foiling (which involves adding a metallic foil over specific parts of the design – such as over words), or Spot UV, which is a high-shine gloss that adds an interesting embossed texture to specific areas of your choice.
8. Planning Your Other Wedding Stationery
Your stationery list doesn’t stop at save the dates and wedding invitations! Here’s a list of common wedding stationery that many brides and grooms choose to have for their big day:
- Information cards (to go inside the invitations)
- RSVP cards (for people to send back to you)
- Menus (to send with your invitations so people can choose their meal option in advance)
- Evening reception invites (if you’re inviting more people later on after the ceremony and wedding breakfast)
- Table number cards
- Seating plan posters
- Place cards
- Orders of service
- Direction signs to the church or venue
- Thank you cards (to send guests after the wedding)
Don’t panic, though: it seems like a really long list, but you’ve got plenty of time to get them done. Find somewhere that can provide consistent online design templates across your different stationery types such as invites and menus (*like instantprint, cough cough), and it’ll simplify your DIY wedding stationery journey.
9. Enjoy Your Day!
You’ve accepted the RSVPs, ordered the signs for the church and reception venue, and have the dreaded seating plan finalised on an A0 Foamex board. All that’s left to do is sit back, say your vows, and enjoy your wedding! (Then send those thank you cards when you return from your honeymoon, of course).
Your save the dates are just the beginning of your story. Make sure you check out our full wedding range for DIY wedding print with a professional touch, every time.